Upgrading a Soldered laptop GPU – Part 2
YouTube video transcription
[Original source] Partially based on the script of my YouTube video.
This guide is compatible with the the following laptops.
[Laptop] XMG Apex 15 Max E22 (2022) with AMD B550 chipset and AM4 CPU socket
[Barebone] Clevo NH50VR / NH55VR / NH57VR / NH58VR (B550 chipset)
[CPU] AMD Ryzen 7 5800X3D – Zen3 Ryzen Desktop CPU
[Note] This guide is applicable for almost all laptops. In general you can upgrade within the same GPU generation (e.g. RTX 3060 to RTX 3080), because the same pad layout is usually used for many different GPUs. But as I said: within the same generation.
You can upgrade the following. All GPUs in between included.
| From | To | Certainty | Comment |
| GTX 1650 Mobile (TU117) | – | high | no upgrade possible. Physically smaller GPU substrate and different pad layout. |
| GTX 1660 Mobile (TU116) | GTX 1660 Ti (TU116) | high | |
| GTX 1660 Mobile (TU116) | RTX 2080 Super Mobile (TU104) | uncertain! | should work, but have to try that to make sure. The VRMs of the laptop can’t handle the RTX 2080 (150W) though. However, RTX 2070 Mobile (115W) should be fine. |
| RTX 2060 Mobile (TU106) | RTX 2080 Super Mobile (TU104) | high | includes RTX 2070, 2070 Super Mobile GPUs |
| RTX 3060 Mobile (GA106) | RTX 3080 Ti Mobile (GA103) | high | includes RTX 3070, 3070 Ti and 3080 Mobile GPUs |
| RTX 4060 Mobile (AD107) | RTX 4070 Mobile (AD106) | high | upgrade to RTX 4080 and 4090 Mobile not possible due to different pad layout |
| RTX 4080 Mobile (AD104) | RTX 4090 Mobile (AD103) | high |
After my previous video about upgrading my soldered laptop GPU I couldn’t stop thinking about the missed opportunity to solder in the biggest of the RTX 30 laptop lineup. The RTX 3080 Ti Mobile.
So, let’s change that.
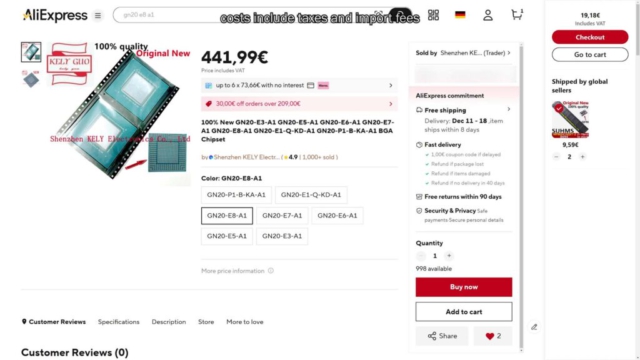
I originally wanted to skip the 3080 Ti because getting a donor board with it soldered on was quite rare and unreasonably expensive on sources like eBay. So, I started looking on AliExpress and found a few sources where I could buy the GPU core only, either used or in “new” condition.
But here is the thing, on AliExpress you can never be sure if you are really getting factory new items or just refurbished ones. It is not a promise, just a statement. Especially with Nvidia GPU cores. They are usually sold in large quantities directly to the board partners only, not to individual customers.
However, I’ve bought some items from some well-rated shops on AliExpress before and wasn’t disappointed. So, I thought I would give it a try. Well, an expensive try for sure.
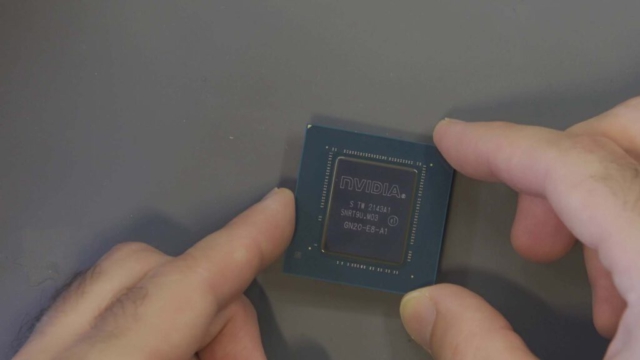
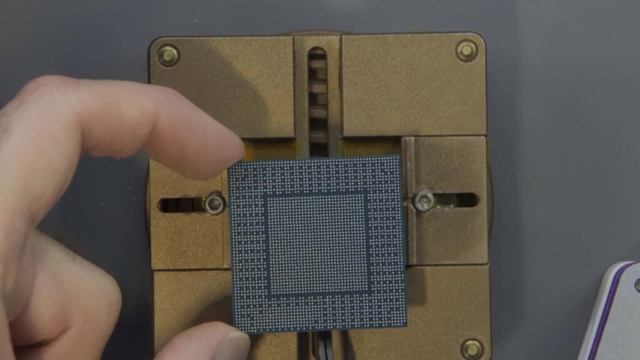
I chose a core that was described as “new” … and got this.
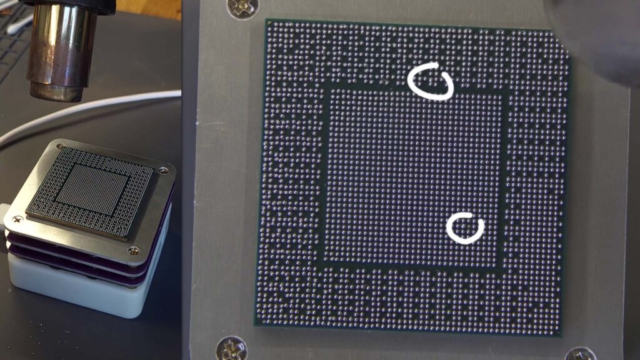
If it really is new is impossible to tell, but the reflections of the bare die showed no scratches except for the slightly curved polishing marks from the wafer polishing process.
All in all, this one looked VERY promising.
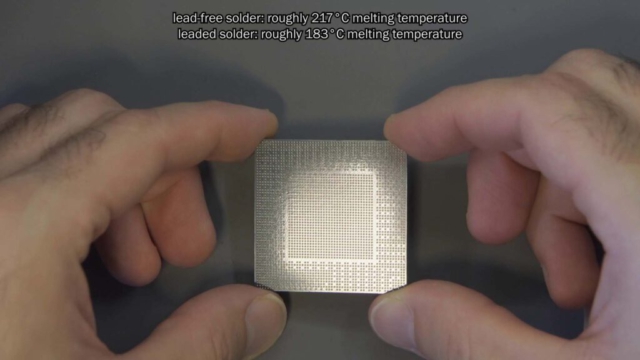
Now, this GPU came with lead-free solder balls. Which is totally fine. I could have soldered this chip right in. But I decided to go with leaded solder balls once again.
Why? Well, I hoped that this nice-looking GPU might be a golden sample, which overclocks well, and I wonder if the extended thermal stress during soldering could reduce a GPU’s clock stability.
So, I wanted to play it safe and use solder balls that melt at just 183°C instead of the typical 217°C.
But I could be totally wrong with this assumption. So… This step is highly optional and not based on any knowledge.
Nevertheless, let’s go through the reballing process.
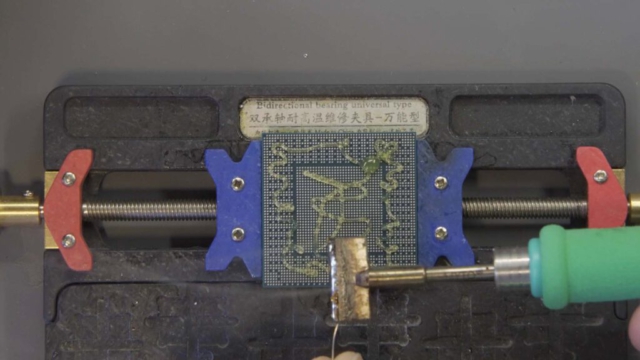
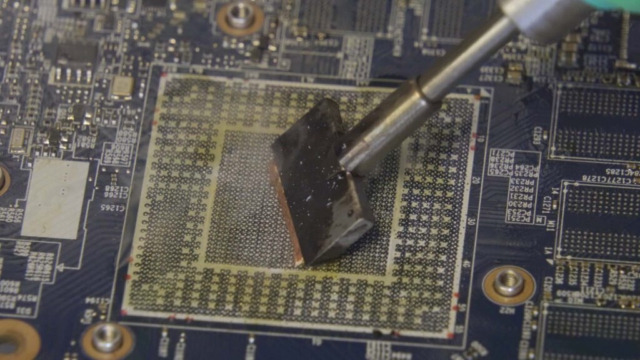
At first, I had to remove the old solder. To make things easier, I used a blob of leaded solder and mixed it with the old solder.
This way you lower the melting temperature, which makes it easier to remove the solder from the GPU pads afterwards.
Of course, I used a lot of flux to make the solder flow. Otherwise, it would not want to stick and just stay where it is.
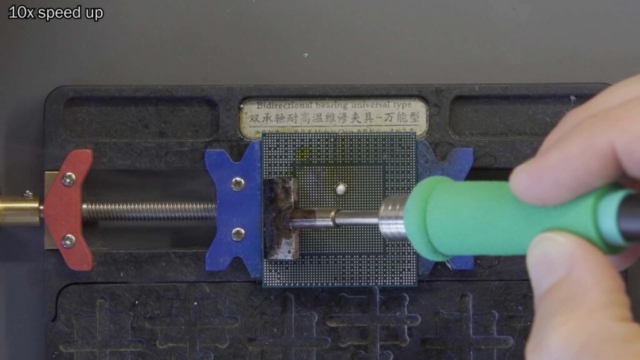
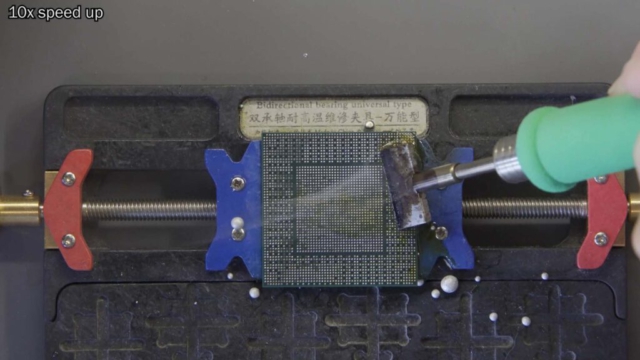
The actual cleaning is done with some strips of desoldering wick.
I took my time with the cleaning process and repeated the steps until the desoldering wick wasn’t picking up any solder from the chip anymore.
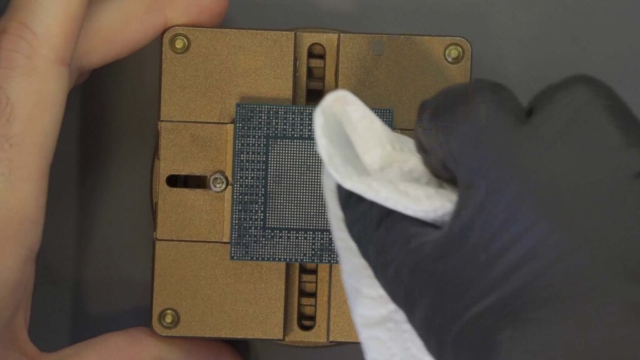
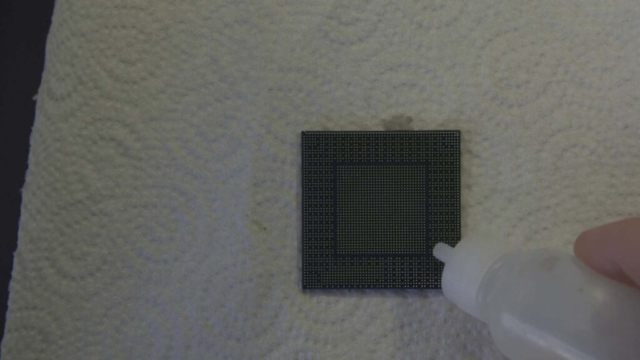
Then I cleaned off the old flux with isopropyl alcohol.
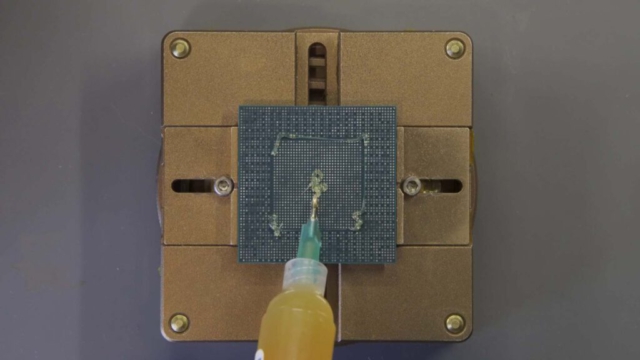
Now we come to the most critical part, which is applying the right amount of flux and new solder balls.
Just one day earlier I practiced with my old desoldered RTX 3070 Mobile from my previous video and managed to get it done on the first try without any solder bridges. This was only possible because I followed some hints on various forums and discord servers, which even showed up in my comments:
The balls don’t move as much, if the flux is heated up a bit before the balls get added.
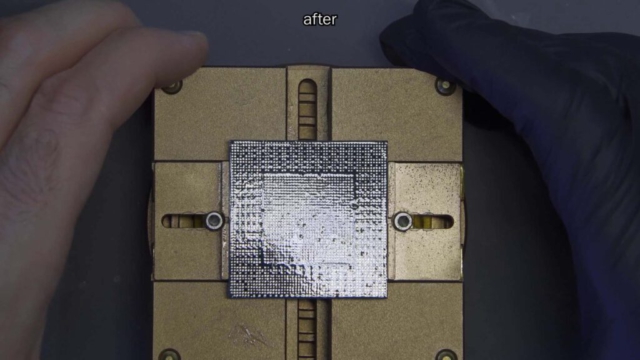
So, I added the right amount of flux and then heated it up until the flux started to flow. Smoothing out any bumps and gaps.
You can also see it getting more evenly distributed in the reflections.
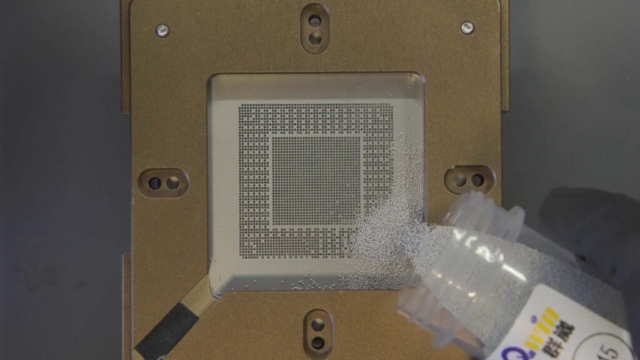
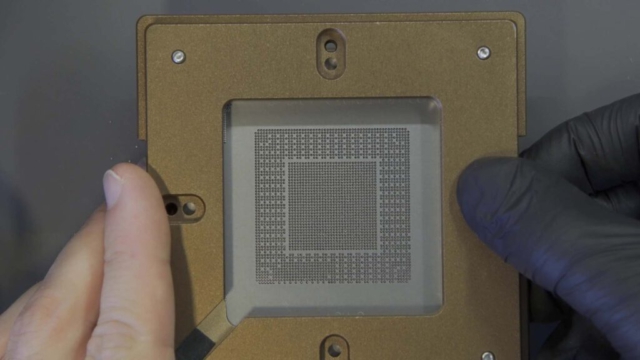
Now, I put the stencil on the BGA reballing tool, poured some solder balls in and made sure there was one in each hole.
Finally, I lifted the stencil and carried the GPU carefully to the mini heating plate. Umm, this time without dropping it.
Then I heated up the GPU slowly to the solder’s melting temperature and assisted the process with my cheap hot air gun on low air speed.
As you can see, the balls still shifted, but overall I had less problems than with the 3080 Mobile in my previous video.
Not as nice as my practice session with the old 3070 Mobile core, but still not too bad.
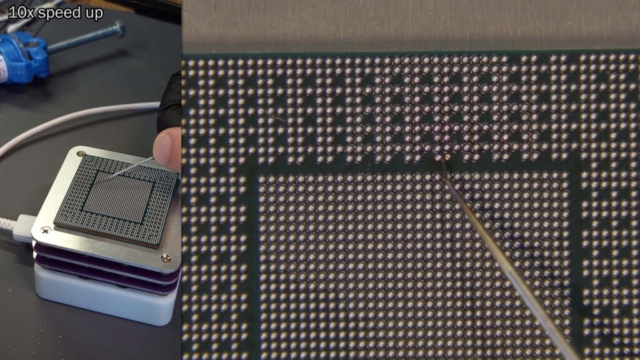
I made use of it and took the chance to show another technique to get rid of solder bridges. As you can see, I had two spots where one ball moved away from it’s pad and formed a single large solder ball with its neighbour.
While the GPU was still hot, right at the solder ball’s melting temperature, I tried to drop a new solder ball onto the empty pad.
The first try was successful, but I missed the second spot.
Fortunately, that’s a solvable problem with the help of a desoldering wick.
Cut off a small piece and grab it with a pair of tweezers so that you’re able to tap the oversized solder ball with one corner of the desoldering wick. Use the hot air to heat the solder balls and the wick at the same time.
Of course you need steady hands for this, so don’t drink too much coffee right before reballing a GPU, like I did 😉.
You may notice that I didn’t wick off all the solder on this one. This was not intentional, but I noticed that there might be just the right amount of solder left to form a perfectly sized ball.
Well, in the end it was not perfect because it was slightly too big, but it is okay to have a not as perfectly sized solder ball in an array of perfect ones. So I will take that.
In my opinion, a little too big is less of a problem than a too small one.
When soldering in the GPU, the bigger ball will squeeze but can still take up some space without touching its neighbouring balls, but is guaranteed to connect to the board’s solder pad.
A ball that is too small however, could be too far away from the board and might not connect properly.
Now the solder balls looked perfect. And after some cleaning in isopropyl alcohol the chip was ready to be soldered onto its new spot.
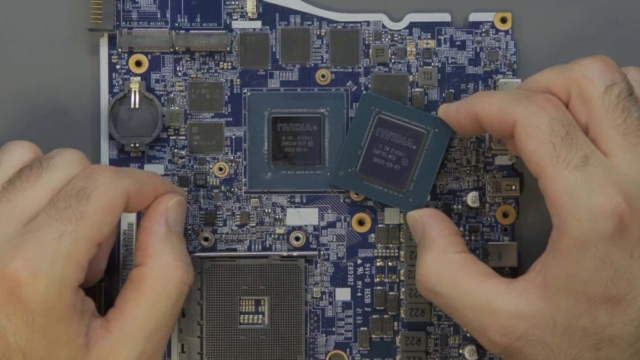
But first I had to remove the old GPU of course. And if you have seen my previous video you might wonder how in the world there was another RTX 3070 GPU in my laptop, which I need to remove again?!
Well, I got two of these laptops, one for daily use and one exclusively for this YT channel to fool around with. And since the 3080 one is working fine and I use it daily as my main laptop ever since, my old daily machine can be put to the risk.
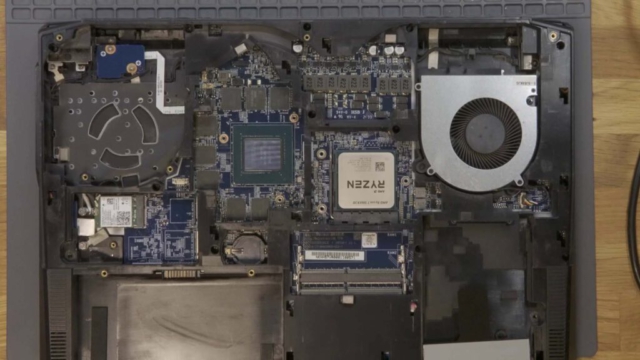
It is the same laptop, an XMG APEX MAX E22. And because many of you commented on this one: Yes, it got an AM4 desktop CPU socket. This principle is called Desktop Replacement, or DTR, which was fairly common with some barebone laptops from Clevo for more than a decade. But since Intel’s 12th gen and AMD’s Zen4 mobile CPUs came out their popularity dropped and are pretty much dead by now. This laptop is one of the last of it’s kind.
There are a lot of disadvantages about DTRs as well, but that’s not the topic of this video. So let’s continue.
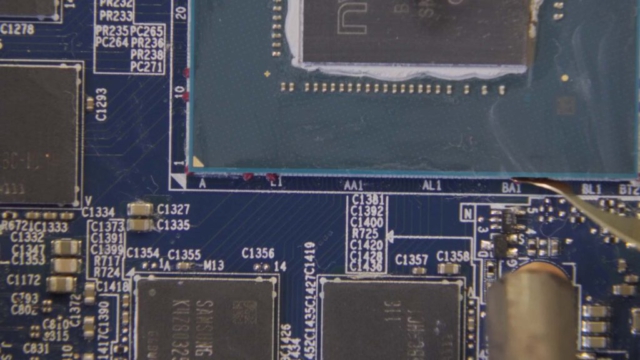
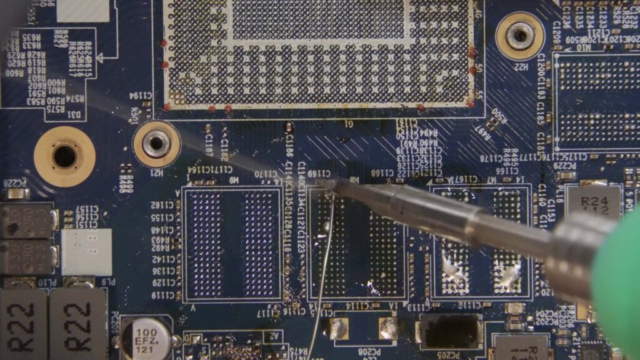
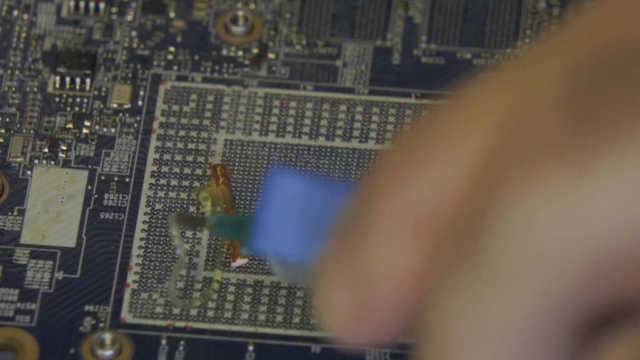
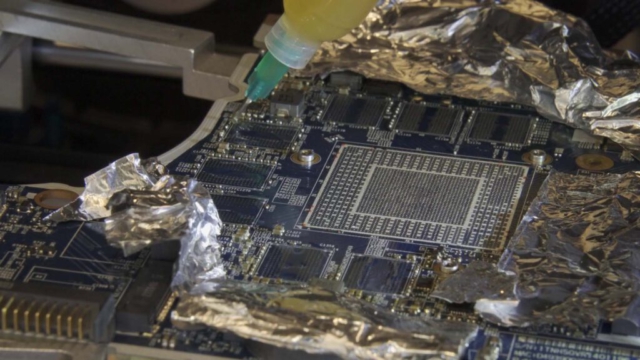
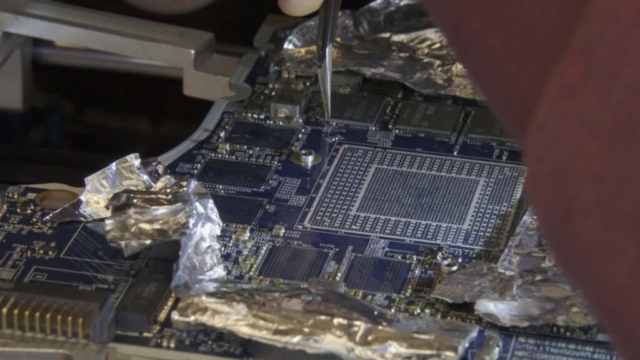
Before I could take it off the board I had to remove the annoying glue spots using an underfill remover knife and a little hot air.
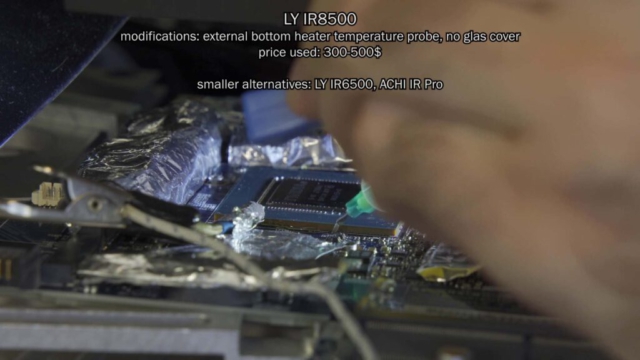
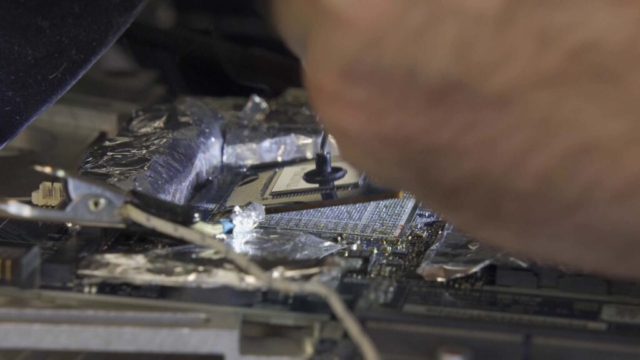
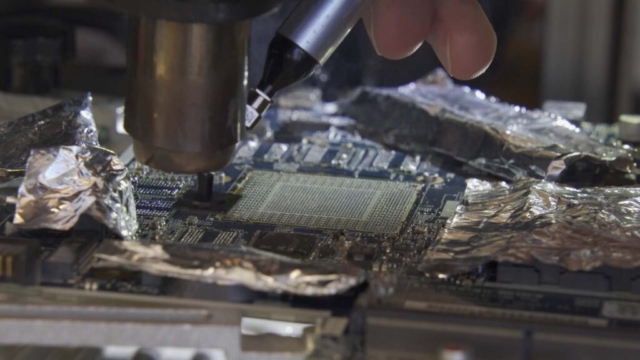
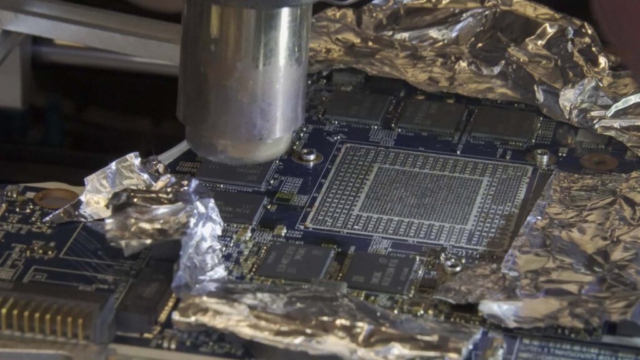
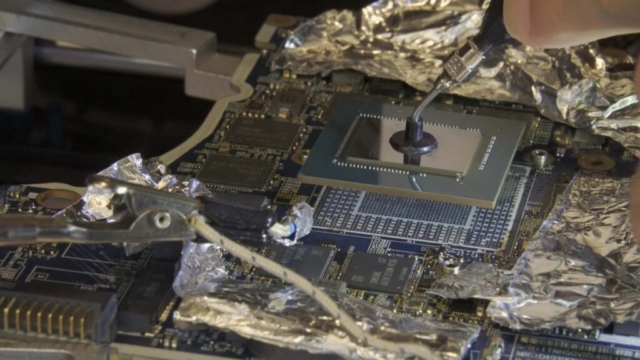
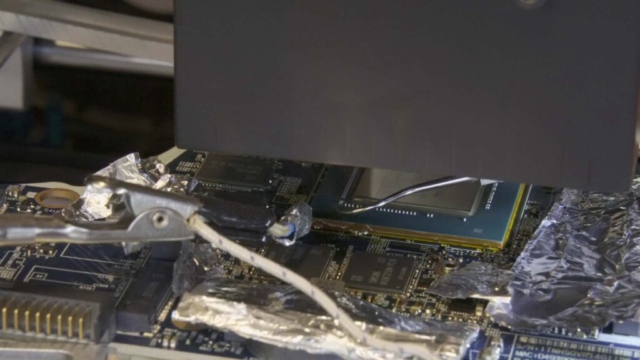
Finally, I removed the GPU with my cheap-ish BGA rework station, which is a modified LY IR8500 with external temperature probes attached to flexible arms. It does the job, but is rumored to discolorize the GPU a little compared to much more expensive machines. This might be true, but I am not experienced enough to really judge about that.
My machine’s temperature target settings for lead-free solder are usually 180°C on the bottom and 230°C on the top, right at the edge of the chip.
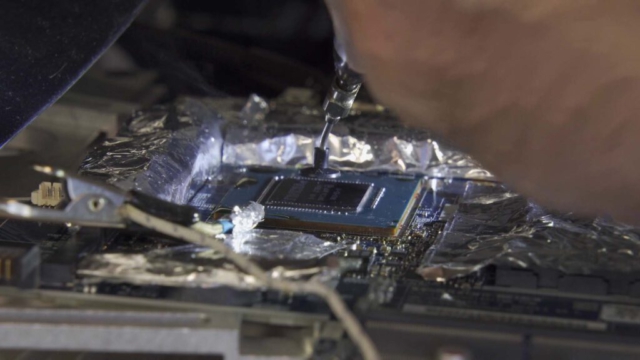
Some seconds before reaching the target temperature, I add a little flux and tap the chip with little force until I can see it moving. Then it can be pulled off the board easily with a small vacuum pen.
In the meantime I also reballed 8 VRAM ICs with leaded solder. I bought them as “new” on aliexpress, however there are some signs that they are not new, but used refurbished chips.
- They got vastly different manufacturing codes, even when sealed in the same tape reel packaging.
AND - At least one of them had damaged pads. Well, I can’t be sure if I damaged them myself, but it felt like they just broke way too easy.
So, I had to throw one of them away. Luckily, I had an old one of those lying around, which was exposed to some heat already, which can be seen by the slightly darker color. But it should work just fine.
As usual I cleaned off the old solder with fresh leaded solder.
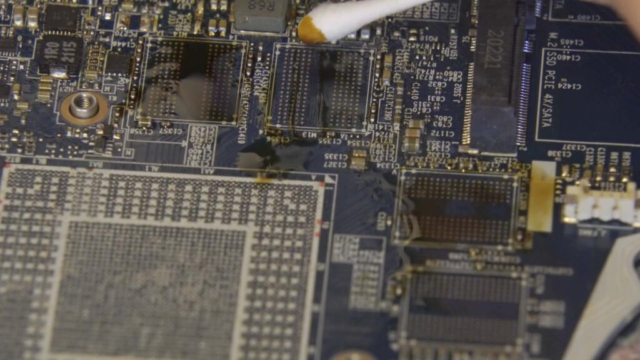
In preparation for the new GPU I tried to get rid of the bigger glue spots on the board, with a small grinder.
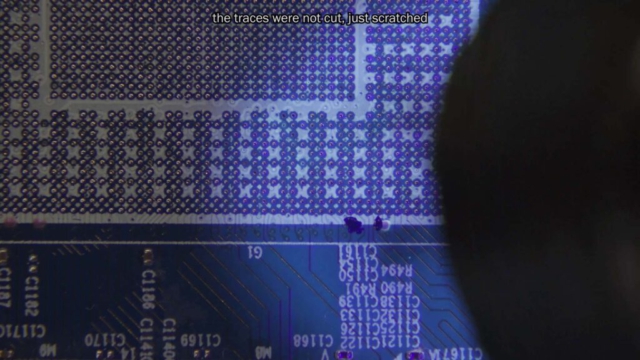
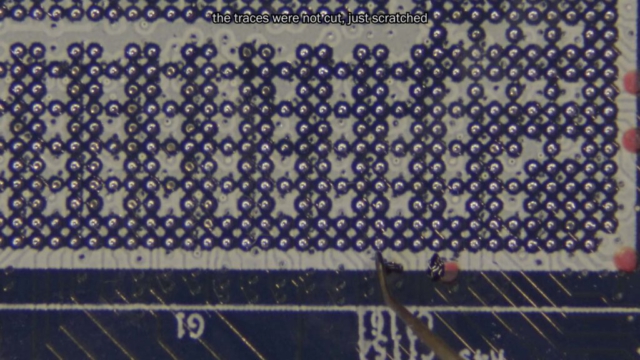
On one of them I slipped and damaged the solder mask a little. Not the end of the world, but I shouldn’t leave the copper traces unprotected either. So, I’ve repaired that with the help of some UV curable solder mask.
Finally, the pads got cleaned with desoldering wick just the moment before soldering in the new chips, to make sure the pads are as clean as possible.
And finally, the actual soldering is done on my BGA rework station.
Those stations usually have a bottom heater and a top heater.
The bottom heater is there to soak the board you are working on with heat.
The top heater is noticeable weaker, but it’s only job is to push the chips temperature just a little higher, right above the melting temperature of the solder balls, which is 183°C in my case.
For soldering in the new 16GB of video memory I will start with the bottom heater only, set to 150°C.
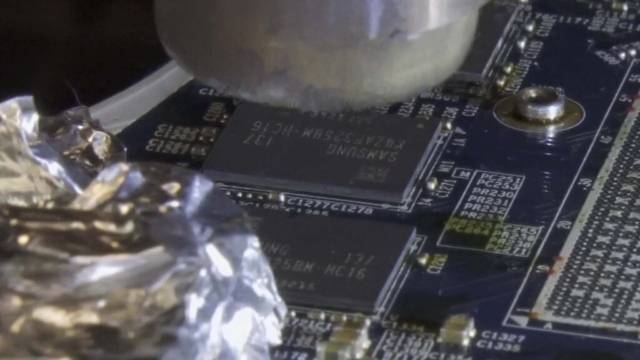
After applying some flux I placed the video memory ICs in the correct orientation and aligned them properly.
Using my hot air station I heated them up until they settled, which can be seen nicely in the video footage by the gap between them and the board getting smaller.
While their solder is liquid it is advised by many more experienced repair technicians to give them a little tap to support the liquid solder bonding to the pads.
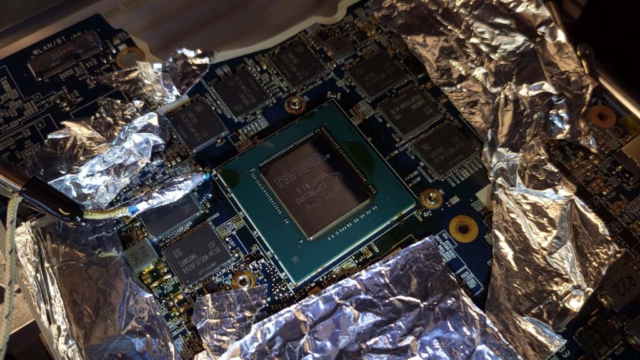
After all of them are soldered it was time for the star of the show. The freshly reballed RTX 3080 Ti Mobile.
I spread some flux evenly with a brush. And then aligned the GPU core as good as possible.
Now, the BGA rework station’s top heater comes into play. The board top target temperature is set to 195°C, just a little over the solder ball’s melting temperature.
Also, the bottom heater gets a little bump up to 170°C. This way stresses on the material are reduced.
The remaining process took just two and a half minutes and included gentle knocks on the top of the GPU core, while the solder was liquid. This way I wanted to make sure to prevent any cold solder joints as seen in in my previous video with the 3080.
I think the reason for my struggles with the 3080 back then, was that the laptop’s mainboard was not perfectly flat and this way at least one edge of the GPU was too far away from the board to properly bond all solder balls to the pads.
That’s it, the critical part is over.
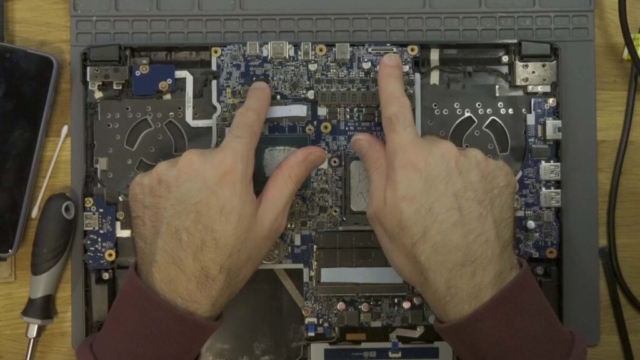
Now let’s clean it a little and perform some final checks before reassembling the laptop.
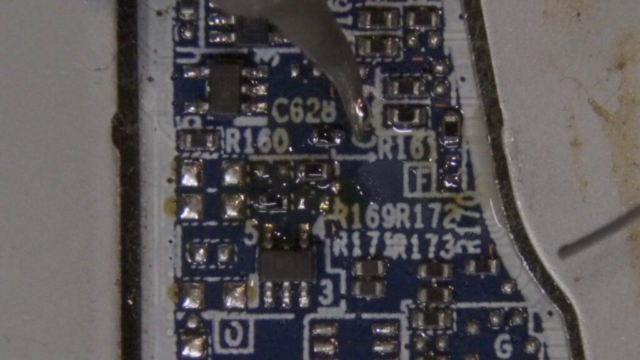
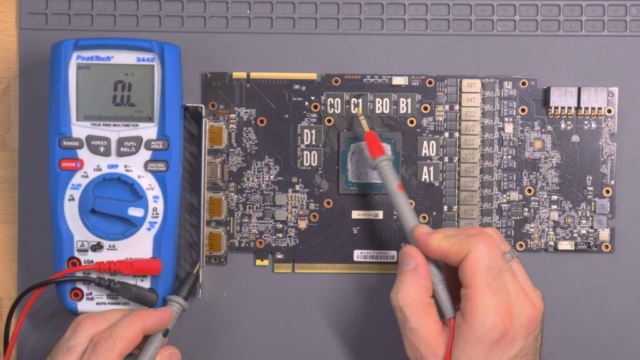
In the footage you can see some final measurements on the inductors to check for shorts. If there would be any that would be a bad sign and indicate that there is a solder bridge, or “short”, underneath the chips.
But nothing was wrong here and all resistances were looking perfectly fine.
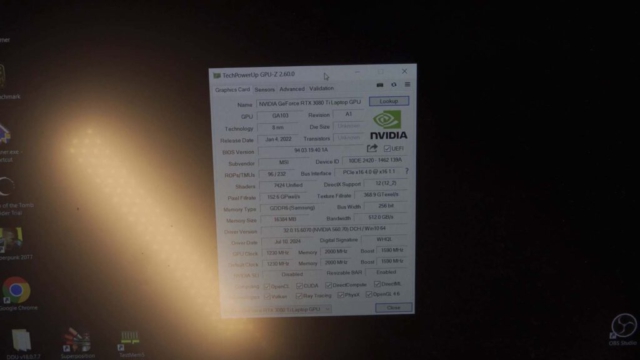
And as a last step before the assembly, I have to change the straps as explained in the last video. But this time we aim for the strap combination High-High-Low to tell the GPU it has 16GB of Samsung 16Gbit/s memory installed. (Entry 7 is 16Gbit/s, Entry 10 is 14Gbit/s)
And finally, I assembled the laptop quickly with some cheap thermal pads and thermal paste for a simple test run.
But again… I got no image.
Well, I was a little too quick apparently, because I realized that I forgot to plug in the laptop screen cable. Um, and the webcam, but who cares.
After fixing this the final moment came.
But … Just kidding. I got an image, on the first try! And that’s really amazing. No troubleshooting required this time.
And another nice surprise is that even the Nvidia drivers installed automatically.
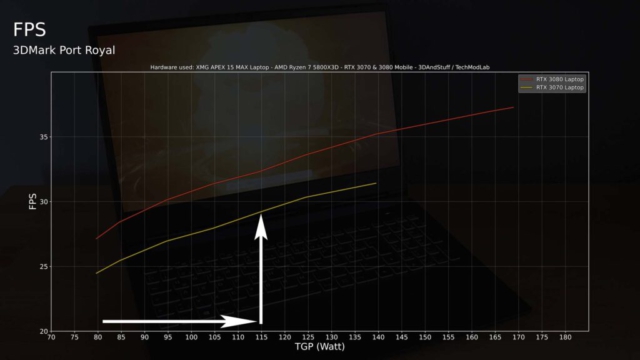
After all this work I ran a ton of benchmarks at different GPU power targets. To be precise more than 80 runs of 3Dmark Port Royal and more than 100 runs of Time Spy.
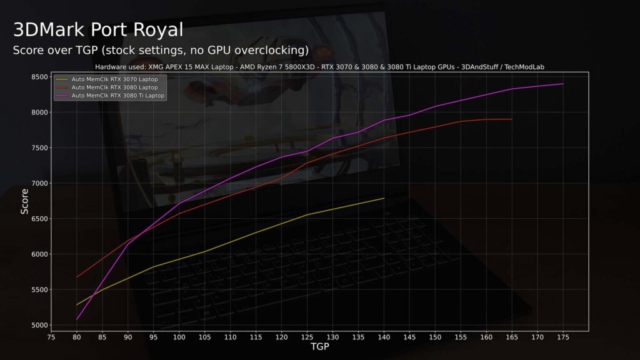
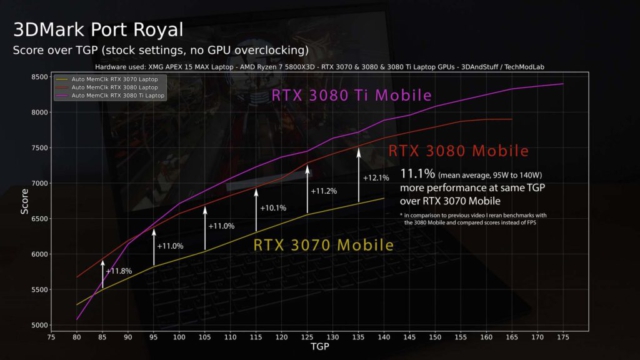
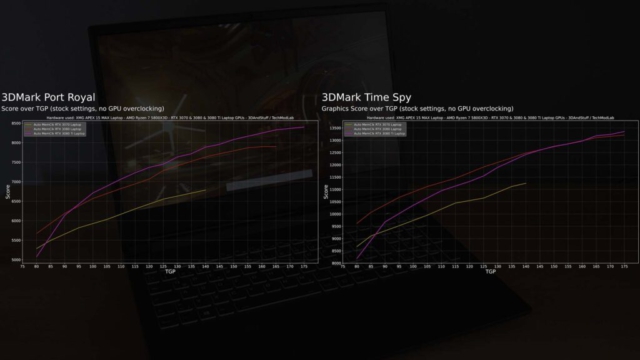
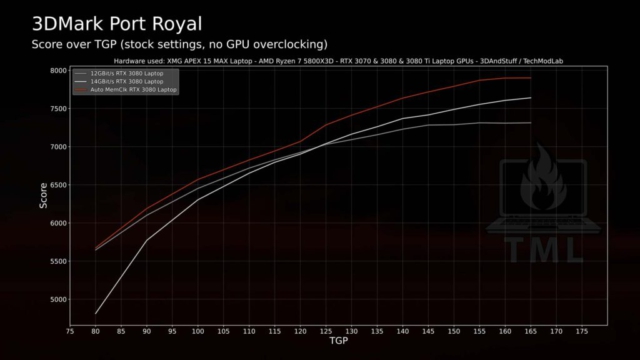
For reference, here are the graphs of the 3080 Mobile upgrade video. On the x-axis you can find the TGP, or “power limit” values and on the y-axis the resulting performance.
As usual, the higher the power limit is set, the higher the performance.
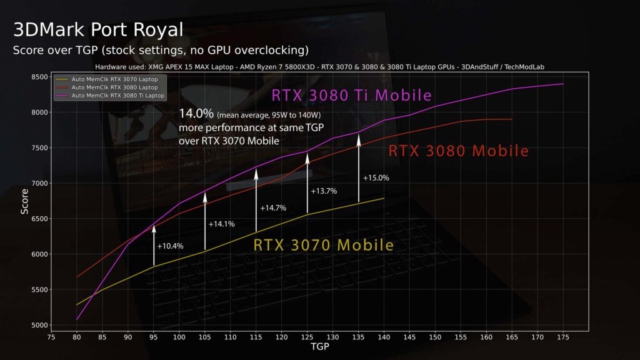
Now let’s add the 3080 Ti Mobile and start with 3Dmark’s Port Royal, just as in the previous video.
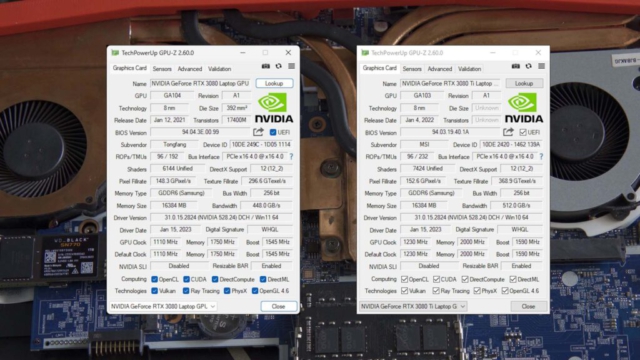
As you can see the 3080 Ti does perform a little better than the 3080, but just by a very small margin of 3 to 4 percent in the mid TGP range, maxing out at 5.5% performance advantage at the very top 175W TGP.
On the lowest end however, the 3080 Ti Mobile is much slower than the 3080 Mobile, being even slower than the 3070 Mobile.
Well, up to 5% over the 3080 Mobile is not too bad. But unfortunately, that’s just true for a raytracing enabled benchmark.
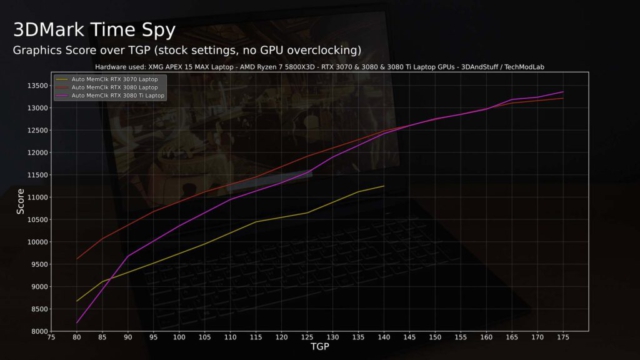
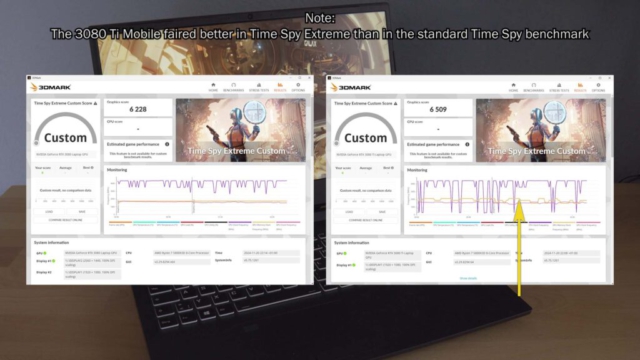
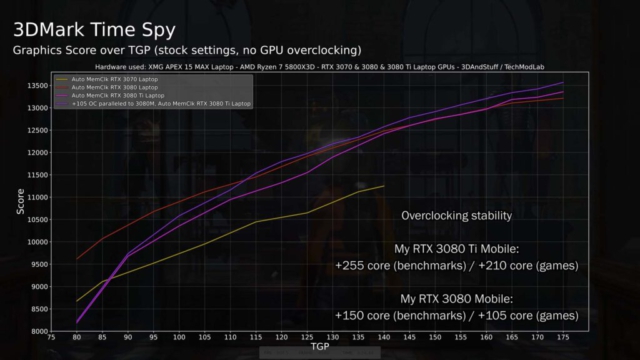
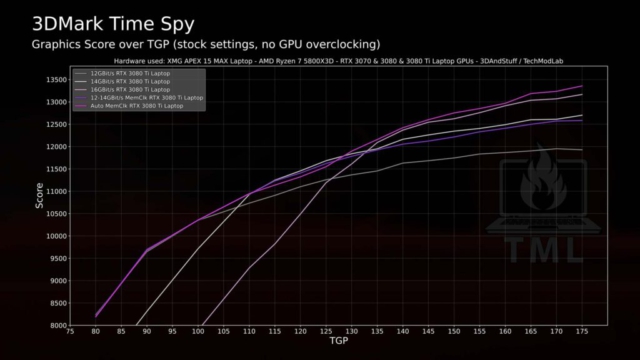
This time I also included some 3Dmark Time Spy results, which is not using the Raytracing cores of the GPU, but only classic rasterization.
And oh boy, the 3080 Ti Mobile is BAD!
Clearly it is gaining performance on the top end, but it can never really exceed the 3080 by a noticeable margin.
The data shows that the 3080 Ti Mobile can’t take advantage of its 20% higher multiprocessor count over the 3080 Mobile. It is much beefier in the specs, but it can’t show its full potential unless you allow it to draw a lot of power.
I would even say this GPU CRIES for power, just as seen with the Ampere generation’s high end desktop GPUs like the RTX 3090 Ti.
But to be honest, I really can’t tell you what might be the reason for it’s underwhelming performance.
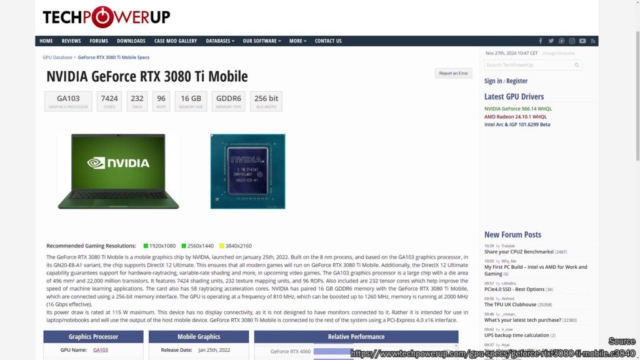
I can think of multiple possible reasons, such as an architectural bottleneck with the GA103, which might be the reason Nvidia never really used that die in their product stack. There are a lot of graphics cards with the GA104 and GA102, but the GA103 is quite rare.
Or maybe it is the relatively small Level2 cache, despite having a lot of multiprocessors.
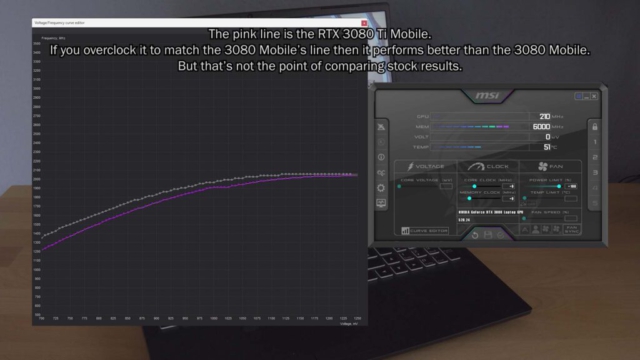
Another reason might be the relatively low Clock-Voltage-Curve compared to the 3080 Mobile. It looks like it falls off at the for laptops very crucial low end.
Or maybe it is even the weird video memory clock behaviour with a lot of fluctuations, while the 3080 Mobile shows a perfectly flat line.
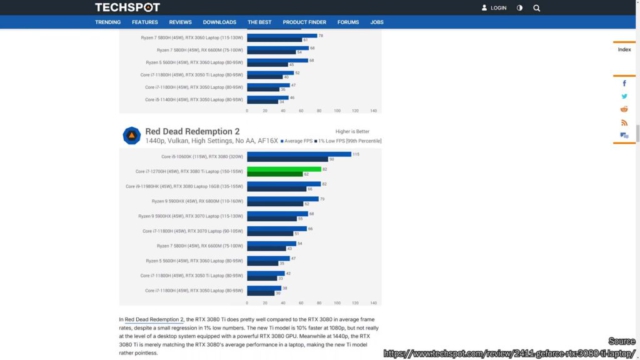
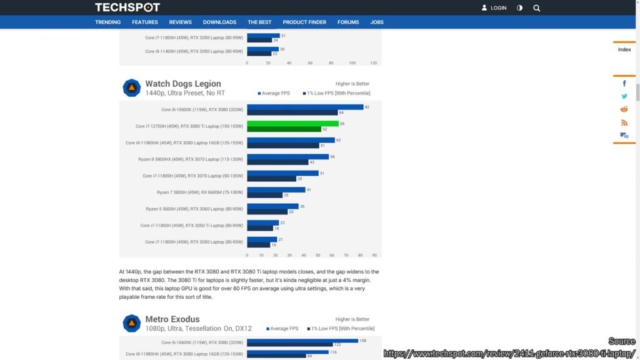
I honestly just don’t know. But after all my test runs it feels like a weird product, which I think should perform better when you look at its raw specs. And it is definitely not my laptop misbehaving after the GPU swap. You can see the relatively low performance in laptop reviews as well, when you filter out any potential CPU bottlenecked benchmarks and concentrate on the more GPU bound 4K performance results.
I mean it is faster in most situations at the highest TGP, but all in all it is not worth it, when you would have to pay more money on a 3080 Ti Mobile over a just as fast 3080 Mobile.
However, when it comes to used gaming laptops, then sure, I would probably opt for the 3080 Ti Mobile, but just because it usually came with a much faster 12th gen Intel CPU compared to Intel’s 11th gen.
I was not planning to talk too much about overclocking in this video, but the strange performance in 3DMark TimeSpy triggered my curiosity and I asked myself the question, what if the clock-voltage curve is too low for all 3080 Ti Mobile GPUs, and should match the one from the 3080 Mobile instead?
Well, I ran some quick tests and found the performance to be much more reasonable.
In the end it performed noticeable better in the mid TGP range, but it does not change too much about the overall situation. It is still much weaker on the low- and just a little better on the high-end.
In terms of individual overclocking stability, I can report that my 3080 Ti Mobile is overclocking exceptionally well with it being able to run +255 on the core in benchmarks and +210 in games. My 3080 Mobile is not an as good sample, maxing out at +150 in benchmarks and +105 in games as an all-time stable overclock.
However, overclocking does vary a lot from GPU to GPU. I am sure there are 3080 Mobile GPUs out there, which can reach +250 on the core without crashing as well. So, without comparing hundreds of the same GPU with each other I really can’t say if there is any clock related problem leading to low performance.
I want to do a proper overclocking session with both GPUs in one of my next videos. Maybe I can find some more clues as to what might be causing the suspiciously underwhelming performance until then.
As stated in the video on YouTube I will present some more graphs in this blog post.
I just think the 3080 Ti Mobile behaves weird and should be able to perform better. But I guess it is just very power hungry and starts to scale at the very top of the TGP range (power limit range). It would probably scale better than the 3080 Mobile at above 175W, but of course that’s too far from laptop territory.
Good thing is: it is still better on raytracing.
(I will add some more graphs later on)
Just as in my previous video I can conclude that it is still not worth to go through all that work to upgrade your laptop’s GPU. If you want an upgrade, it is better to buy a newer laptop and sell your old one.
After all, this modification is not easy at all and I can’t recommend to do that without the right tools and some experience with BGA rework.
If you want to gain some, as I said in my previous video, I can recommend to start with desktop GPU repairs.
After all this YouTube channel is about computer mods and I really hope I can inspire some of you out there to get into these topics. For all the others I hope it is just enjoyable and interesting to watch.
For myself however, it is purely about the curiosity. And I think I have proven that it is possible to do it yourself. But again, I can’t stress this enough, of course it is a super hard modification that only a very small percentage would even consider to learn for themselves.
In the end I got two beautiful unicorn laptops here, that never existed in that configuration. And I am more than happy to play around with until the next major hardware upgrade.
By the way, I will not swap another GPU core in the next video, YET.
Of course, I am already thinking about a part 3. I got some crazy ideas what I can still do, even if the 3080 Ti mobile is the biggest GPU this laptop is natively compatible with. But I need to investigate my plans a little further to make sure it works. So stay tuned.
But for now, I will concentrate on some other mods.
Also thinking about making a Q&A video about all your questions. So don’t hesitate to put your questions into the comment section down below.
Thanks for reading!





















Hey TechModLab,
I have a laptop with an MX450 GDDR6, and I noticed that both the MX450 and GTX 1650 are based on the TU117 chip. I’m new to the world of microsoldering and understand the risks involved in attempting this kind of modification, but I’d like to know if upgrading from the MX450 to the GTX 1650 is possible. Are there any specific hurdles or compatibility issues I should expect?
Thanks!
Hi! 🙂 No, the TU117S, your MX450 is based on, has a much smaller GPU footprint. It is the same GPU die, but bot a different substrate (the green PCB under the shiny GPU core silicon). Unfortunately, there is no way to upgrade to any higher tier GPU.
hi, could I know where you grab the GPU memory strip list from?
From GPU-Z tab “Advanced -> NVIDIA BIOS”
I did my own 3080Ti upgrade on an MXM card here:
https://notebooktalk.net/topic/2520-built-an-mxmclevo-3080ti
You can fix the RAM clocking by forcing a fixed voltage in MSI afterburner. This improves performance a lot.
What is your solder flux? The amtec flux I am using is highly corrosive and causes board damage.
Good to know a 40 series can’t work. This saves me the effort from trying it.
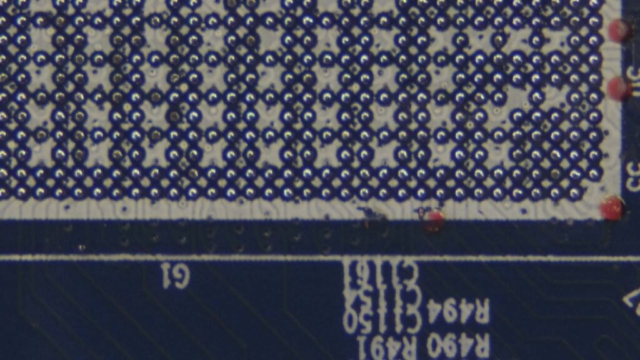
Nice, good job! 🙂 The BGA pad cleaning does look rough though, oof. You can try to cover that up with UV curable solder mask. Will be a lot of work.
Will test the curve lock, but it looks like it could be normal behavior of the 3080 Ti Mobile vBIOS. Your fix includes a shunt mod and varying TGPs because the clock is locked. I would love to find a solution without touching MSI Afterburner, because I work with Linux a lot at work.
My flux is FluxPlus 6-412-A for the BGA reballing and Interflux IF8300 for soldering them in. But experimenting to use FluxPlus for all processes at the moment. The IF8300 is more temperature stable and long lasting, but seems like using the 6-412-A is fine as well. It’s a little bit more expensive though. IMO both are better than Amtech flux. Biggest difference is that Amtech darkens too much.
And because you asked yourself in the notebooktalk forum: My HC16 memory overclocks to +700 stable, +800 sometimes, so 17.4Gbps to 17.6Gbps effectively. I think yours does not overclock well because you got mixed GDDR6 ICs on there and they are rated HC14 only. The K4ZAF325BM-HC chips come with the same timings for 3 speed classes, HC14, HC16 and HC18. The HC14 usually can reach 16Gbps, but just barely. The HC16 are guaranteed to. HC18 can reach 18Gbps of course ^^ Golden samples, binned. However I think memory OC is not worth it with this GPU, maybe just for shunt modded highscore benchmark runs. The memory does consume A LOT more power at 16Gbps compared to 14Gbps. The core clocks drop by 60-90 MHz when it switches to from 14Gbps to 16Gbps. When I compare benchmark results at 175W my memory OC sweet spot is +300 to +400. Anything above that lowers the score again. The memory takes too much power away from the power hungry GA103.
I have a rog zephyrus g14 with rtx 3060 6gb vram and I was thinking of upgrading it to rtx 3080 , as you have tried it can you please help me with that like will there be any issue
Thanks for the flux recommendations and the ram OC info. When I had a 3060 core on the card I could run up to 17.7GHz stable, and performance improved with frequency the higher I went. The 2 chips I added for the 3080 Ti are supposedly HC18s, but I am highly suspicious that they’re just relabeled HC14s or something even worse. I have ordered supposedly higher speed bin RAM several times from Aliexpress and never have seen improvement, meanwhile I have consistently seen improvement when taking known correct RAM from dead cards, at least in the past for GDDR5.
I may have also messed up adding capacitors for adding the RAM. I may have used 0.1uF when I was supposed to use 1uF. This is a pretty easy fix to test.